M1 맥 환경 기준, VS code 사용
php, composer, node.js 설치 완료 후 진행
1. 새 프로젝트 설치
composer create-project laravel/laravel:^11.0 example-app버전과 프로젝트명을 지정하여 프로젝트를 설치한다.
프로젝트가 설치된 경로로 이동해 'php artisan serve'를 통해 내장 서버를 구동하고,
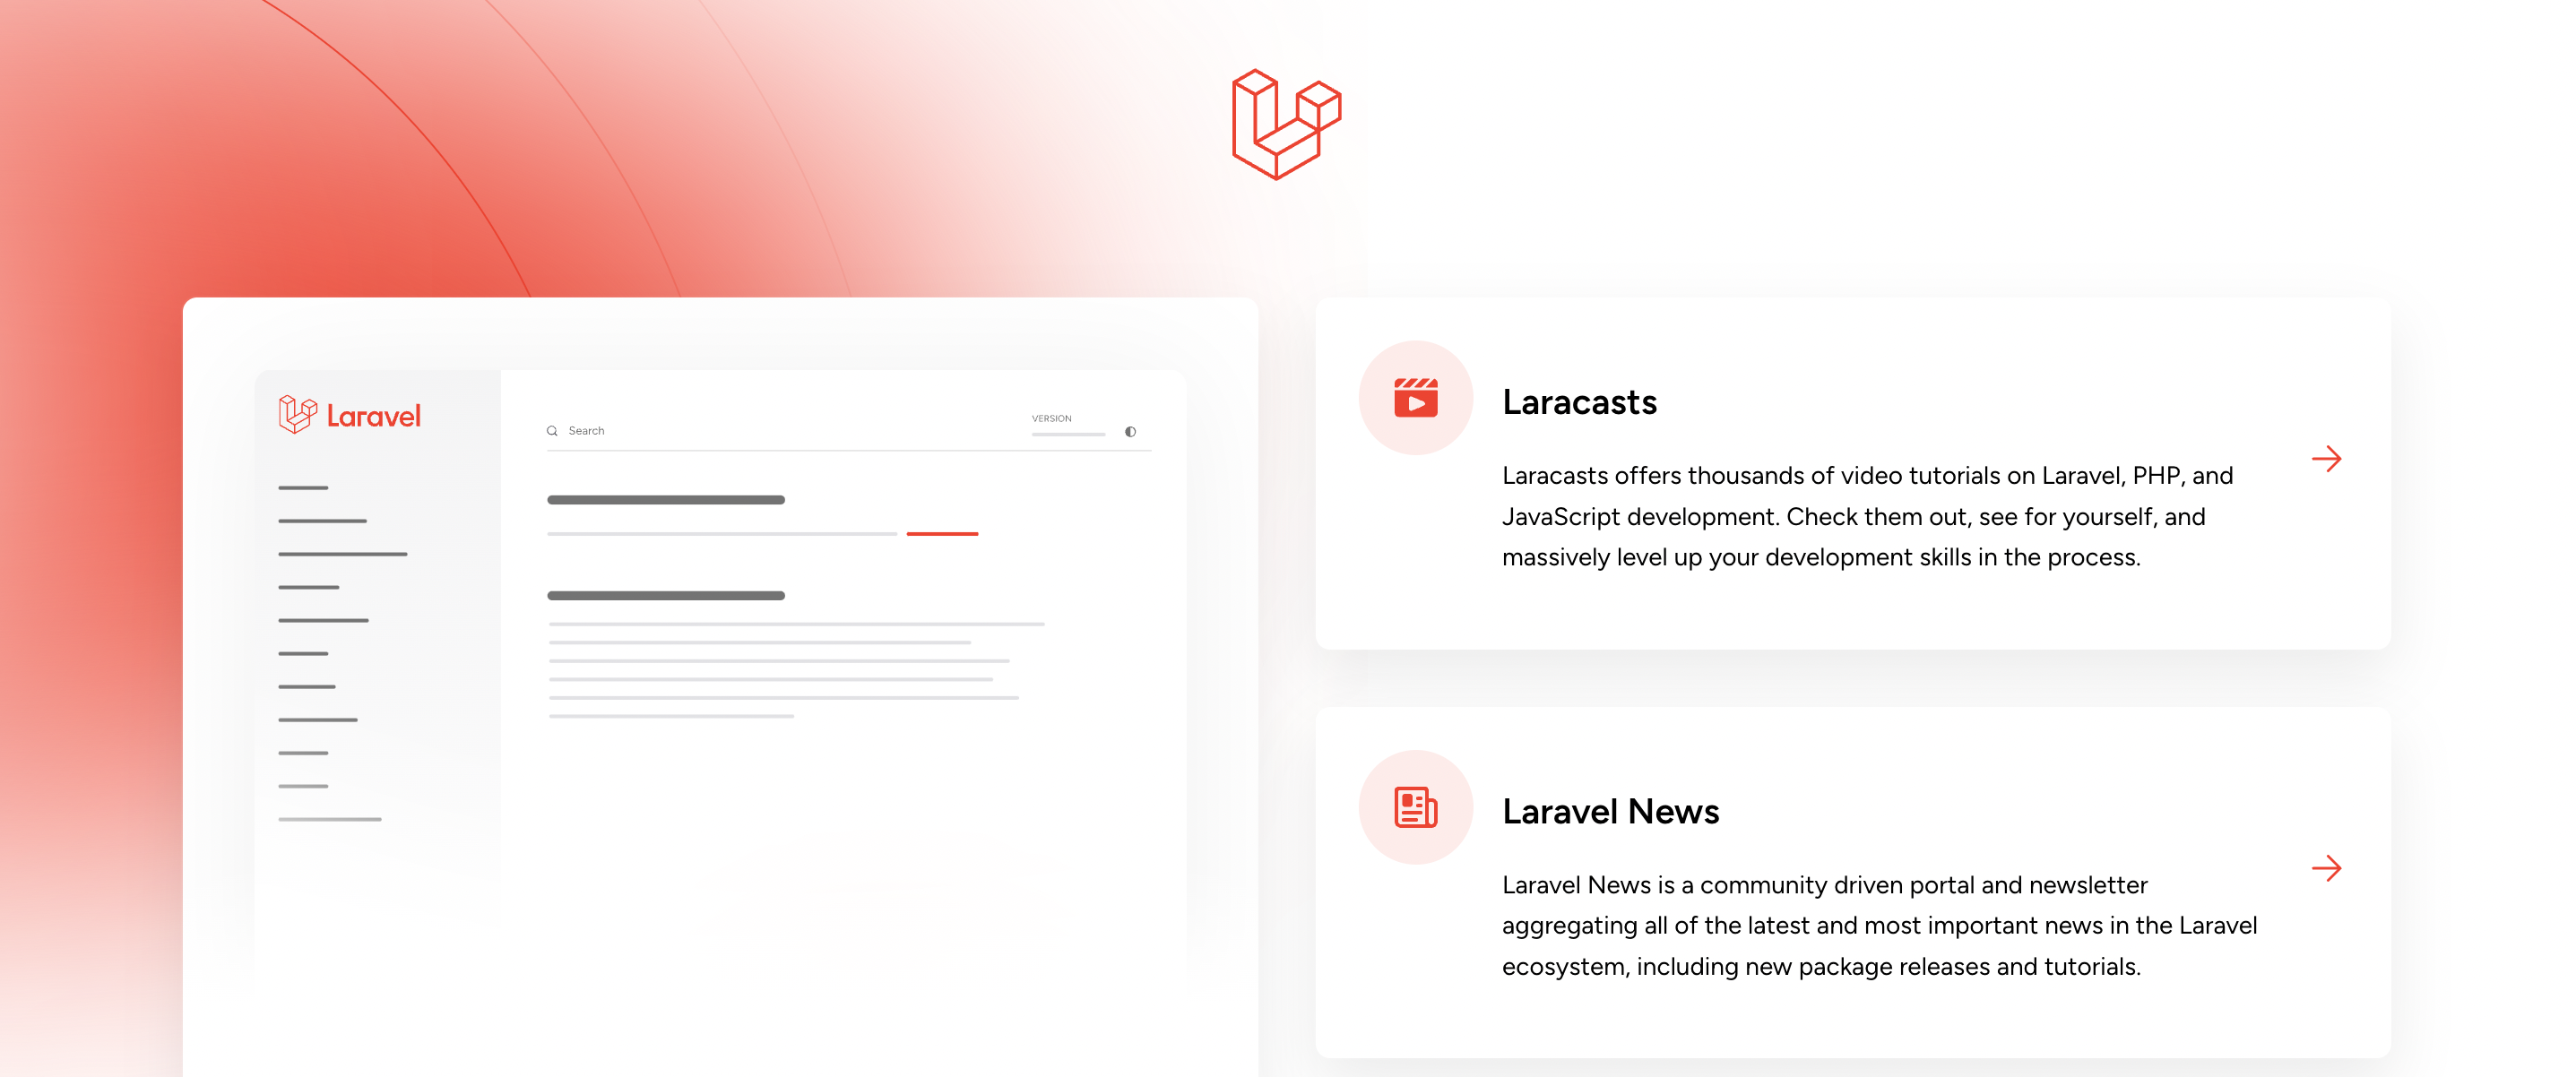
INFO Server running on [~]에서 ~에 해당하는 도메인을 브라우저에 입력했을 때 아래 이미지처럼 라라벨 기본 페이지가 나오면 완료.
2. Vite를 통해 Vue.js 설치
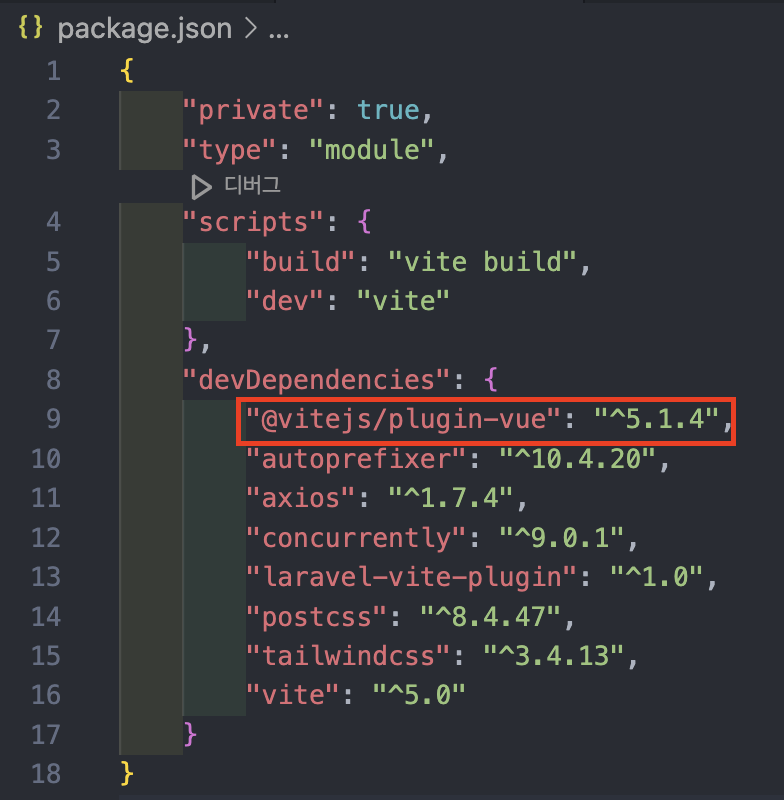
npm install --save-dev @vitejs/plugin-vue프로젝트 폴더 내에서 위 명령어를 입력해 vue.js를 설치한다.
설치가 완료되면 package.json 파일에 아래 이미지처럼 vue 플러그인이 추가된 것을 볼 수 있다.
이후에는 vite.config.js 파일에 아래 내용처럼 vue를 임포트하고 플러그인을 추가한다.
아래 내용은 공식 문서 내용(https://laravel.com/docs/11.x/vite#vue)을 그대로 복붙한 것으로, 공식 문서의 최신 내용을 참고하는 것이 가장 좋다.
import { defineConfig } from 'vite';
import laravel from 'laravel-vite-plugin';
import vue from '@vitejs/plugin-vue';

export default defineConfig({
    plugins: [
        laravel(['resources/js/app.js']),
        vue({
            template: {
                transformAssetUrls: {
                    // The Vue plugin will re-write asset URLs, when referenced
                    // in Single File Components, to point to the Laravel web
                    // server. Setting this to `null` allows the Laravel plugin
                    // to instead re-write asset URLs to point to the Vite
                    // server instead.
                    base: null,

                    // The Vue plugin will parse absolute URLs and treat them
                    // as absolute paths to files on disk. Setting this to
                    // `false` will leave absolute URLs un-touched so they can
                    // reference assets in the public directory as expected.
                    includeAbsolute: false,
                },
            },
        }),
    ],
});
3. Inertia.js 설치
⚙️ Server Side Setup
composer require inertiajs/inertia-laravel위 명령어로 inertia를 설치하고,
resources/views/welcome.blade.php 파일을 app.blade.php로 이름을 변경하고 아래 내용만 남긴다.
vite와 inertia 내용은 inertia 공식 문서(https://inertiajs.com/server-side-setup) 참고.
<!DOCTYPE html>
<html lang="{{ str_replace('_', '-', app()->getLocale()) }}">
    <head>
        <meta charset="utf-8">
        <meta name="viewport" content="width=device-width, initial-scale=1">
        <title>Laravel</title>
        @vite('resources/js/app.js')
        @inertiaHead
    </head>
    <body class="font-sans antialiased dark:bg-black dark:text-white/50">
        @inertia
    </body>
</html>
이후 아래 명령어를 입력하고, bootstrap/app.php 파일로 이동해서 HandleInertiaRequests 관련 설정을 진행한다.
php artisan inertia:middleware// app.php
use App\Http\Middleware\HandleInertiaRequests;
->withMiddleware(function (Middleware $middleware) {
$middleware->web(append: [
HandleInertiaRequests::class,
]);
})
💻 Client-side setup
npm install @inertiajs/vue3위 명령어를 입력하고, resources/js/app.js 파일로 이동해서 내용을 아래와 같이 변경한다.
이 내용 또한 공식 문서 내용(https://inertiajs.com/client-side-setup)을 참고하는 것이 가장 좋다.
import { createApp, h } from 'vue'
import { createInertiaApp } from '@inertiajs/vue3'

createInertiaApp({
  resolve: name => {
    const pages = import.meta.glob('./Pages/**/*.vue', { eager: true })
    return pages[`./Pages/${name}.vue`]
  },
  setup({ el, App, props, plugin }) {
    createApp({ render: () => h(App, props) })
      .use(plugin)
      .mount(el)
  },
})
공식 문서 내용에 따라 js 폴더 아래 Pages 폴더를 만들고 테스트 가능한 vue 파일을 생성한 다음,
web.php에서 기본으로 설정되어있는 return view('welcom'); 부분을 return inertia('vue 파일 경로'); 로 수정하면 vue와 inertia가 모두 잘 설정된 것을 확인할 수 있다.
'Laravel' 카테고리의 다른 글
| [Laravel] 라라벨 프로젝트에 Tailwind CSS 적용하기 (0) | 2024.11.09 |
|---|